The Bike Log
1-2-3: How to perform a quick safety check on your child’s bike
Kids’ bikes are subject to wear and tear, which is why maintaining them is essential for their longevity and safety. As a parent, you can
Learning to ride a bike is an important right of passage for children. Bike riding teaches your children valuable physical and mental skills and helps them develop confidence.
Most importantly, it’s lots of fun!
Teaching kids to ride a bike is a memory both you and your child will remember and cherish forever. Learning to ride a bike should be a fun experience that fills you both with pride, not frustration.
To set both yourself and your child up for success, follow these tips to teach your child to ride a bike.
There’s no exact amount of time it takes to learn a skill like bike riding, as every child will differ. It can take as little as 45 minutes up to a couple of weeks to teach a child to ride a bike. Learning time varies from child to child and will depend on their age, prior coordination development, and previous exposure to ride-on toys or balancing toys.
The most important part of the teaching process is patience. Let your child learn at their own pace rather than forcing them or pushing them when they’re not ready. Too much pressure will make the experience a stressful one rather than the fun process it should be.
Learning to ride a bike is an important milestone in your child’s development. Most children will be ready and willing to learn to ride between the ages of two and eight. Generally, the average age to learn is just over five. However, there are various stages of learning, and some children may start even earlier learning on ride-on vehicles or balance bikes before their first “real” bike.
There are many different physical and mental developmental factors that influence when a child is ready and can learn to ride a bike by themselves. By the age of four, most kids will be able to follow instructions and have developed the natural balance, agility, and physical leg strength required to ride a bike.
Many parents wonder what the “right” age is for children to start learning to ride. There is no one answer to that question. Children are all different, and they grow, learn and develop at their own pace. Some children may be desperate to start riding, especially if they see older siblings riding bikes. Other children may hold back or be disinterested in cycles. When they’re ready, they’ll probably ask for a bike or show some enthusiasm.
This guide will focus on teaching younger children to ride. But it’s also never too late to learn. If your child is older, they’ll likely pick up riding faster than a toddler or kindergartner would and won’t have the same physical considerations that smaller children have.
Many children first start learning to ride on a tricycle, balance bike, or ride-on toys. When it’s time to learn how to ride a bike without training wheels, follow these tips.
Learning to ride a bike without using training wheels may feel like a very foreign concept. Most parent-age adults grew up learning to ride with training wheels. You may also remember the fear and frustration you went through when the training wheels were removed.
The fear or frustration that can come with learning to ride often stems from training wheels. While the training wheels are good in theory, they actually hinder children from learning to balance a bike.
The training wheels process was the norm when most adults learned to ride a bike, but things are slightly different now. Although training wheels were common during the 20th century, they weren’t always a part of the learning process.
Instead, we recommend learning to ride or glide on a balance bike. Not familiar with a balance bike? A balance bike is a kids’ bike that comes without either pedals or training wheels. You can buy specific balance bikes, or Cleary kids bikes can be balance bikes simply by removing the pedals and then adding them later.
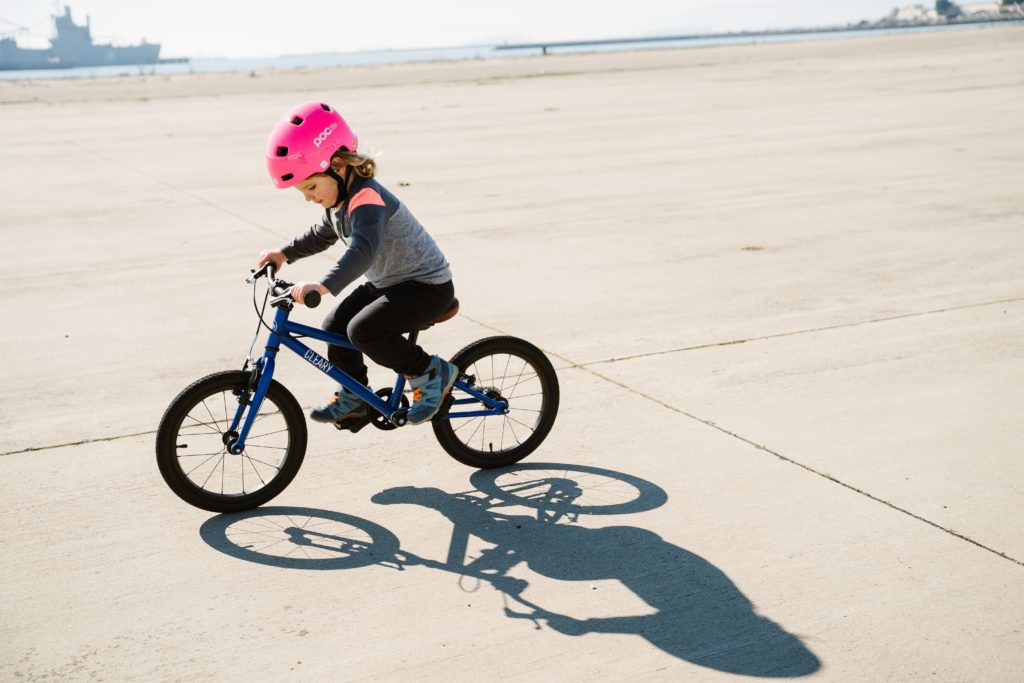
To use a balance bike, kids sit on the saddle and walk or run against the ground, propelling themselves forward. Using this “glide method” of learning, they can easily touch the ground to steady themselves. This method helps them feel confident that they won’t fall over. By removing pedals and training wheels, these bikes allow children to learn how to balance. Believe it or not, balancing, not pedaling, is the hardest part of learning to ride a bike.
At Cleary, we recommend that the best way to learn is without training wheels. But how you teach your child to ride ultimately comes down to your personal preference.
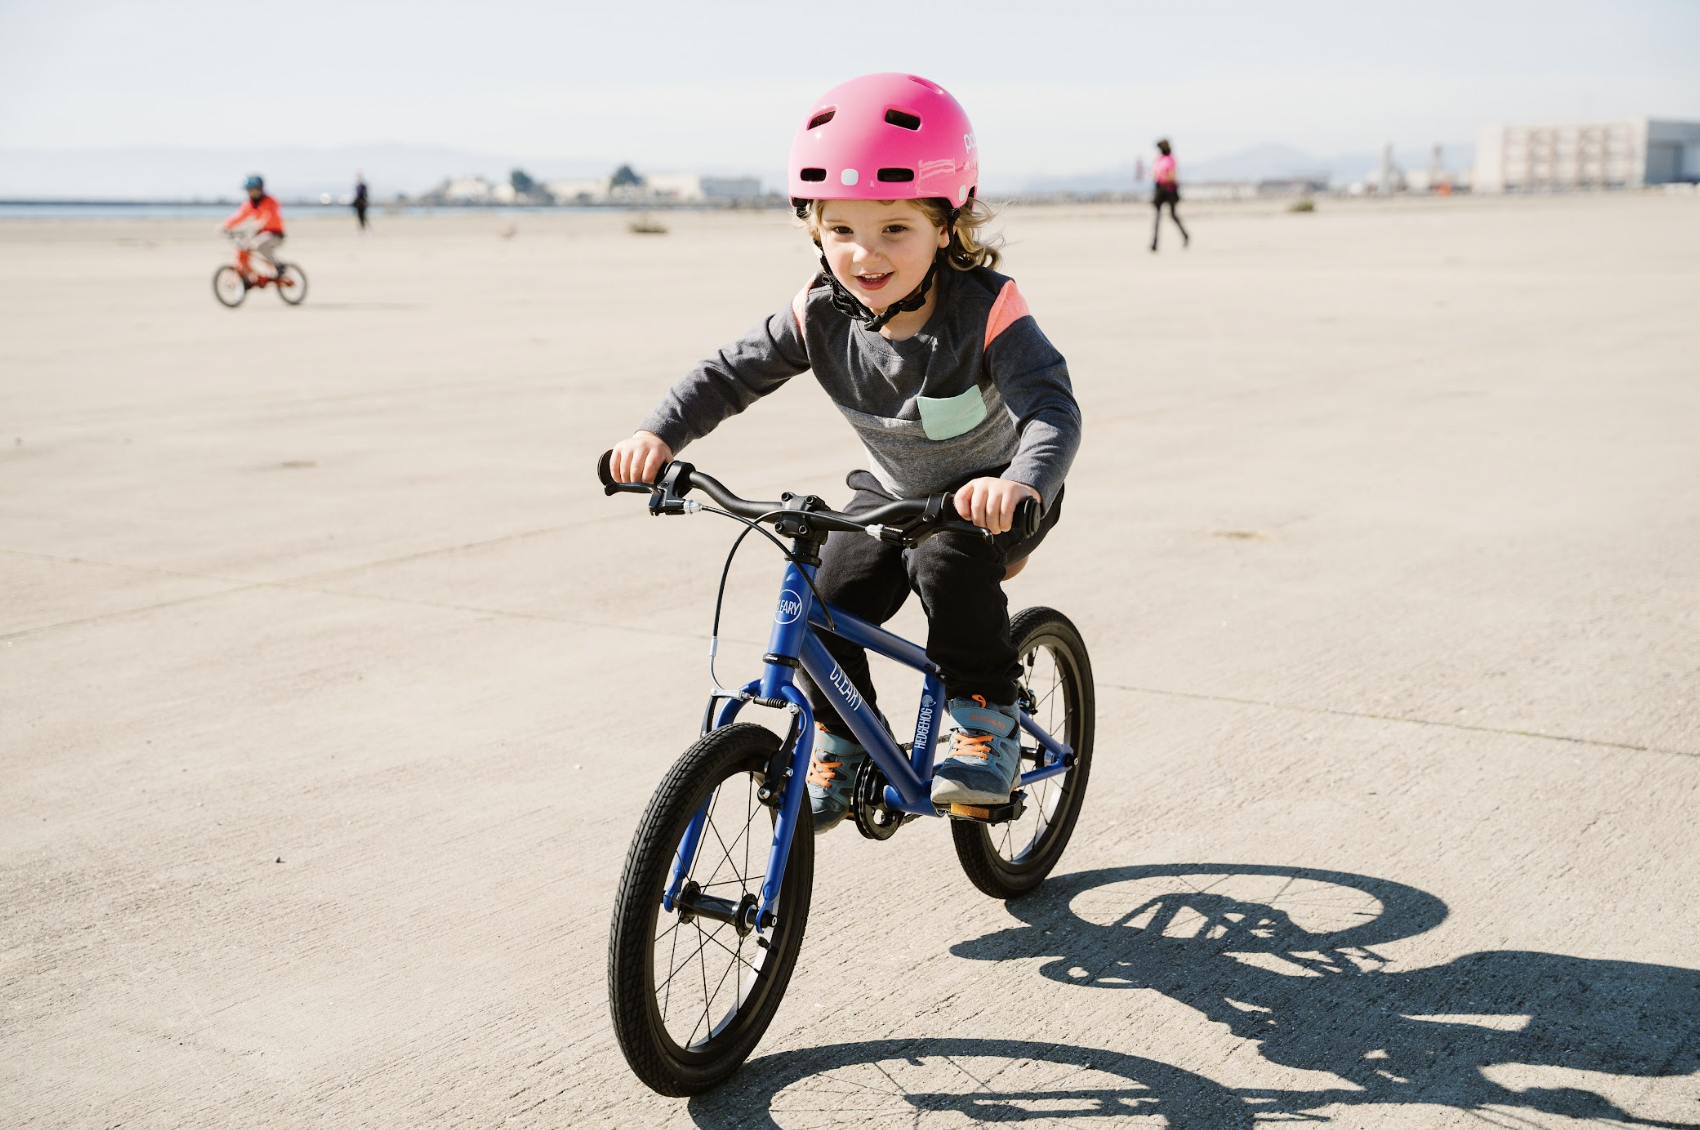
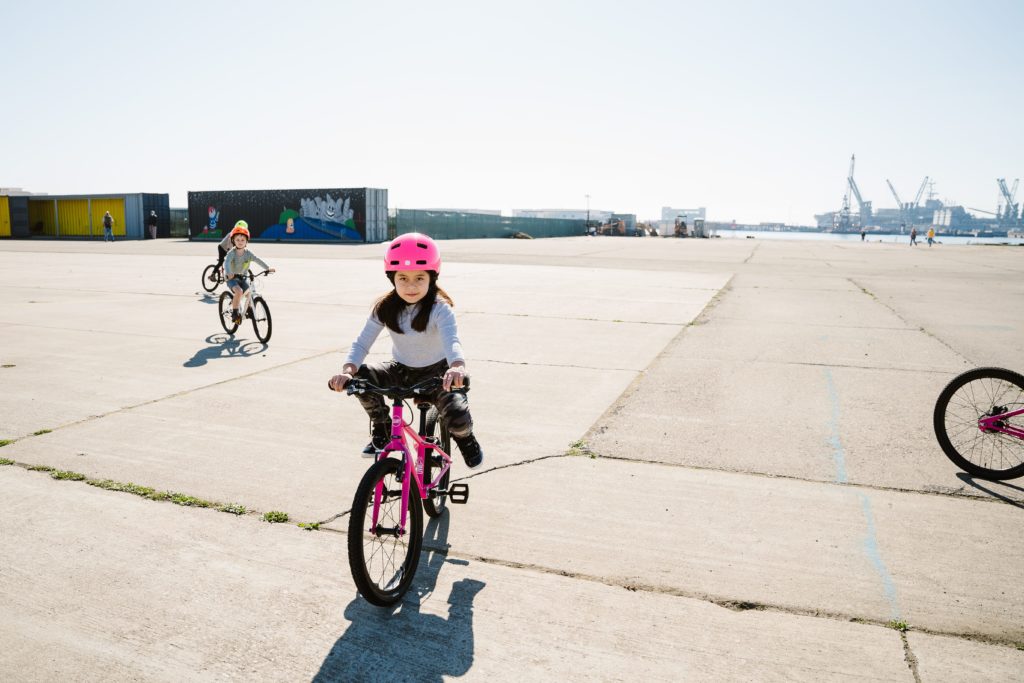
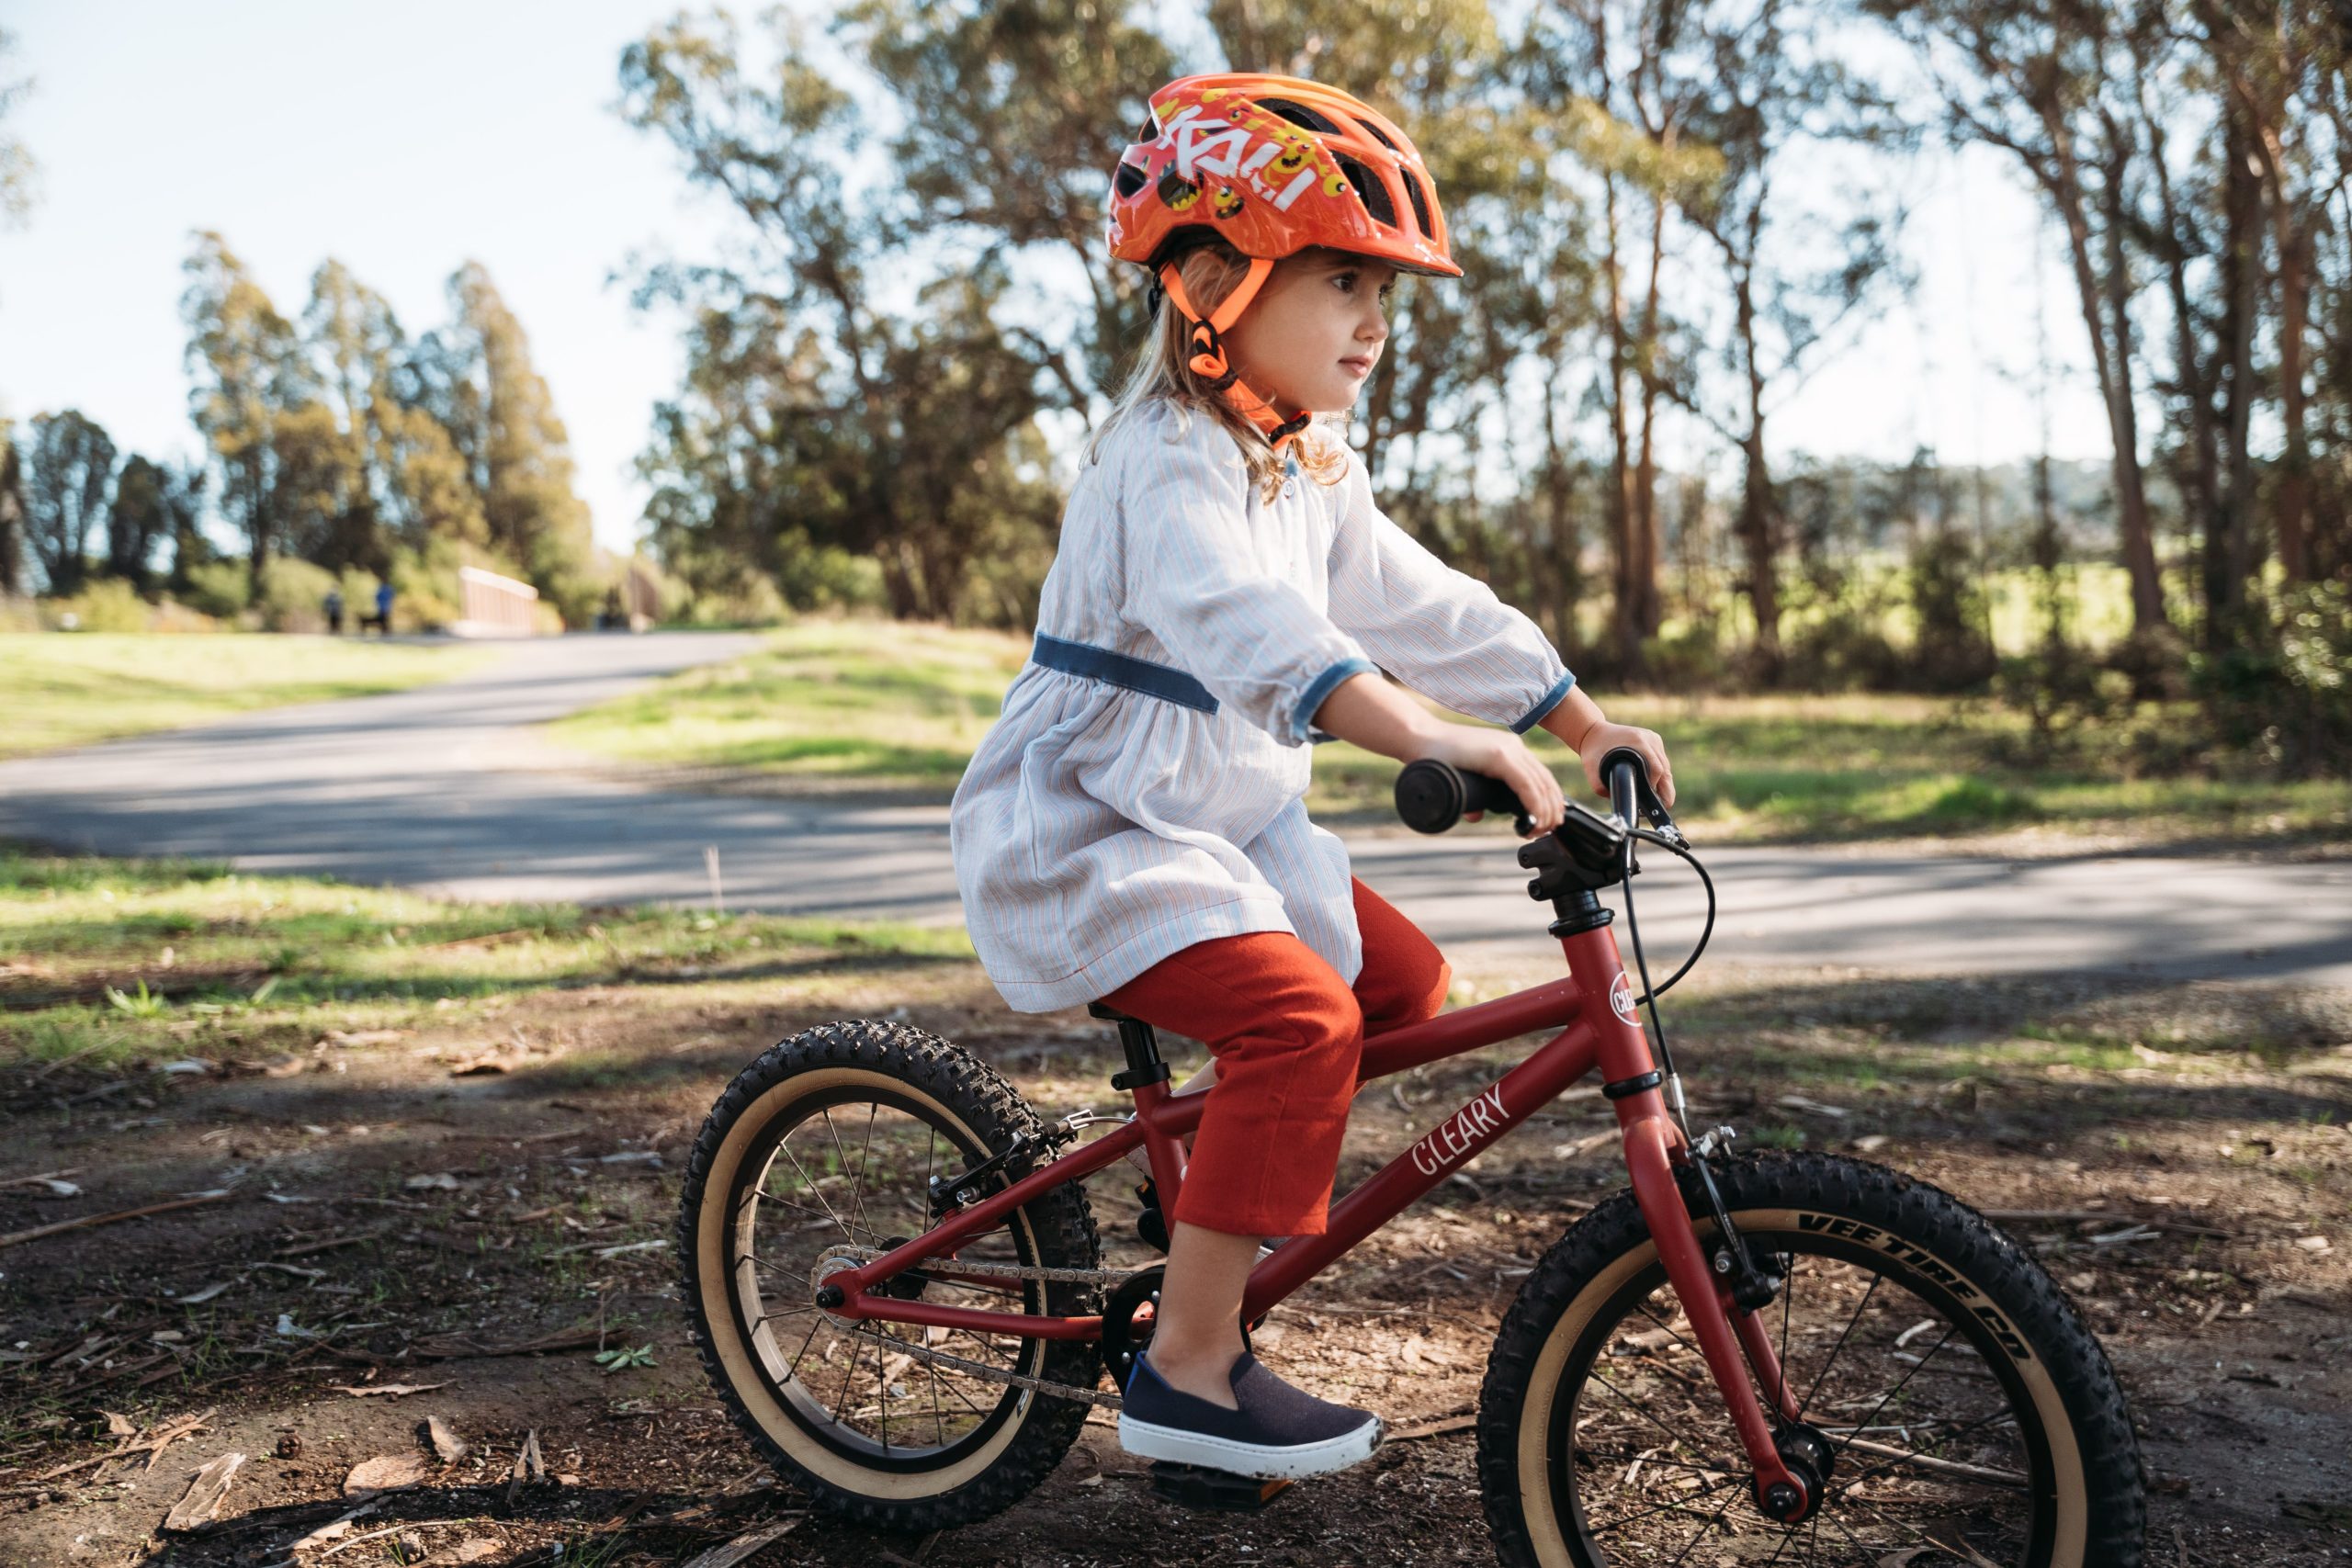
Before you start teaching your child to ride, ensure you have everything you need to make the process safe. A helmet is the first step when it comes to safety accessories.
A helmet is a must-have for any child who is learning to ride. It is now a well-established fact that helmets protect your child’s brain and can save lives. But a helmet that doesn’t fit can be just as dangerous as no helmet at all. A helmet that’s too tight will be uncomfortable, and your child may resist wearing it. On the other hand, a helmet that is too big won’t be stable enough to offer much protection in a fall. That’s why measuring for helmets is so important.
To find the perfect fit, use a soft tape measure and measure the circumference of your child’s head. You should measure the thickest part of their head, which is usually about an inch above their eyebrows. When looking at helmet sizes, compare your child’s head measurement to the head size range of the helmet.
If you’re shopping in-store, the head size range can be found on a sticker inside the helmet. Whenever possible, have your child try the helmet on to judge the best fit in person.
Helmets are an essential safety measure for all riders and a legal requirement for under 16s in most states.
A properly fitted bike helmet should sit low on your child’s forehead. Have your child look upward with the helmet on – they should be able to see the helmet’s front rim on their head. When the helmet chin strap has been buckled up, it should be snug but not uncomfortable. Tighten the strap so your child can fit no more than two fingers under the strap.
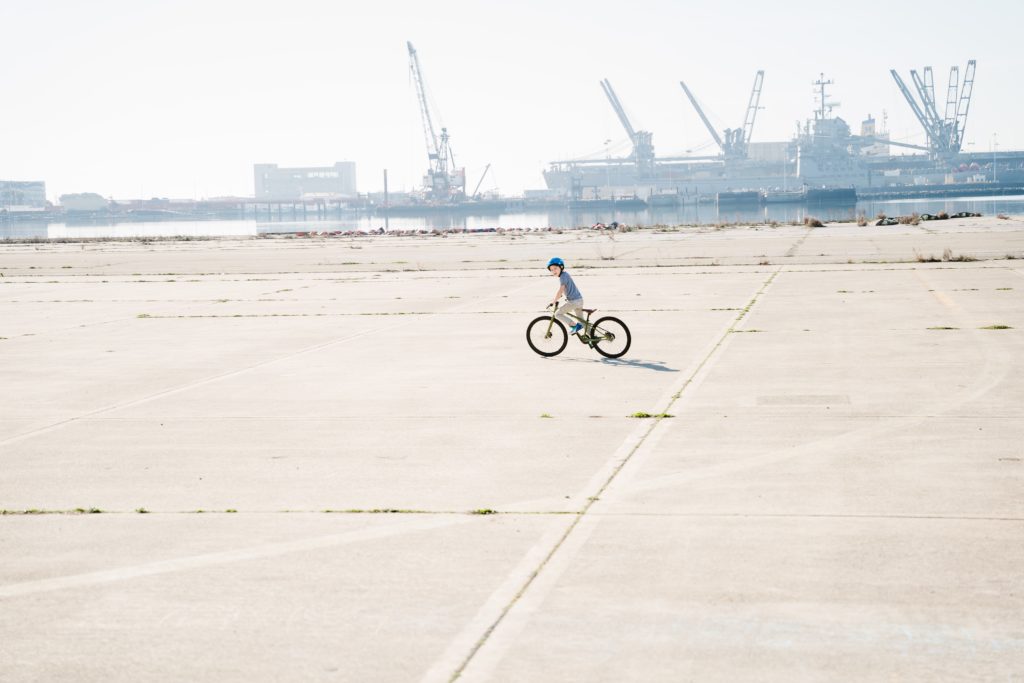
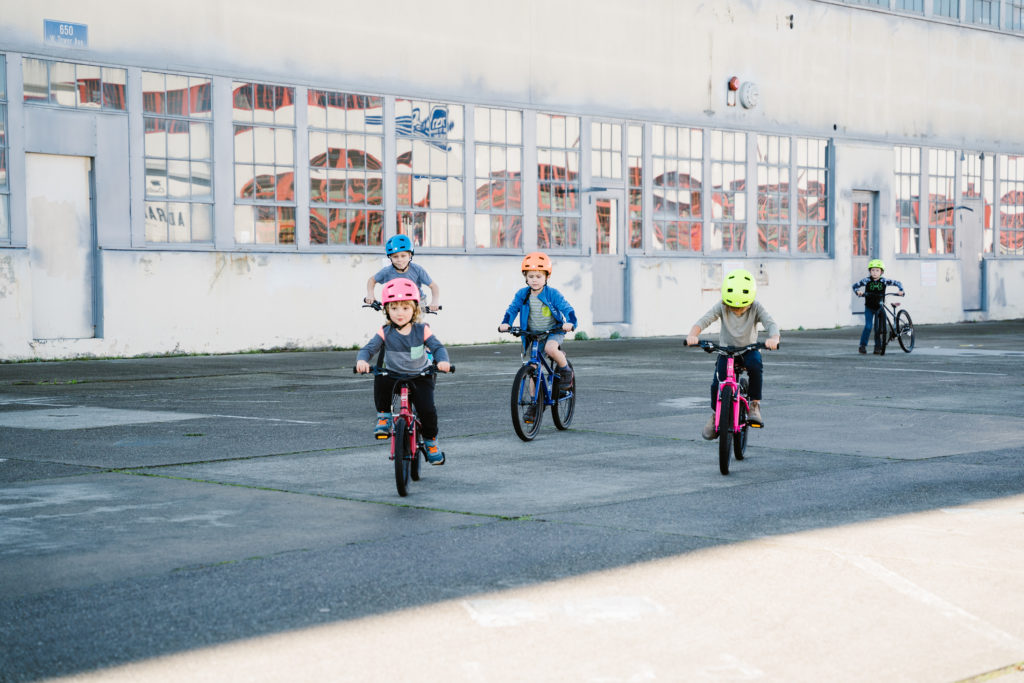
It’s essential to choose a safe space for your child to ride, ideally on a patio, park path, or sidewalk. Children should always have supervision when learning to ride on the sidewalk or on public trails. Parents should watch out for cars reversing out of driveways, pedestrians, and other bikers.
Even when learning to ride on your driveway, you should take precautions and watch your child. If the driveway isn’t gated, you should keep a close eye to ensure your kids don’t ride out onto the road. Ensure all family members know that you are practicing on the driveway to avoid any accidents with reversing cars. Little riders are often low in the blind spot of reversing vehicles, so keep them well away from cars and traffic.
You kids should never start off learning to ride on the road. Road bike safety is something that needs to be taught separately from the basics of riding. Younger riders aren’t yet mature or street savvy enough to share the road safely with cars. Generally, children under the age of ten often haven’t developed enough spatial awareness to ride safely on the road with cars and other bikes. Until they reach this age, children should stick to riding on sidewalks and paths.
Grass may seem appealing as a soft landing for young riders. But grass will make it harder to propel a bike, and divots can create unforeseen obstacles. Flat surfaces are always preferred, wearing the necessary safety gear in case of any tumbles.
As your child gets older and is confident on a bike, they can start to ride on the road or on cycle paths, which are generally safer for teens and adult riders. If your kid has progressed to a 20-inch bike, a 24-inch bike, or a 26-inch bike, they are likely ready to start riding on the road. When it’s time to make that transition, you should choose streets with low traffic and lower speed limits. You should ensure your child has learned the appropriate hand signals and safety precautions for road use before they hit the streets.
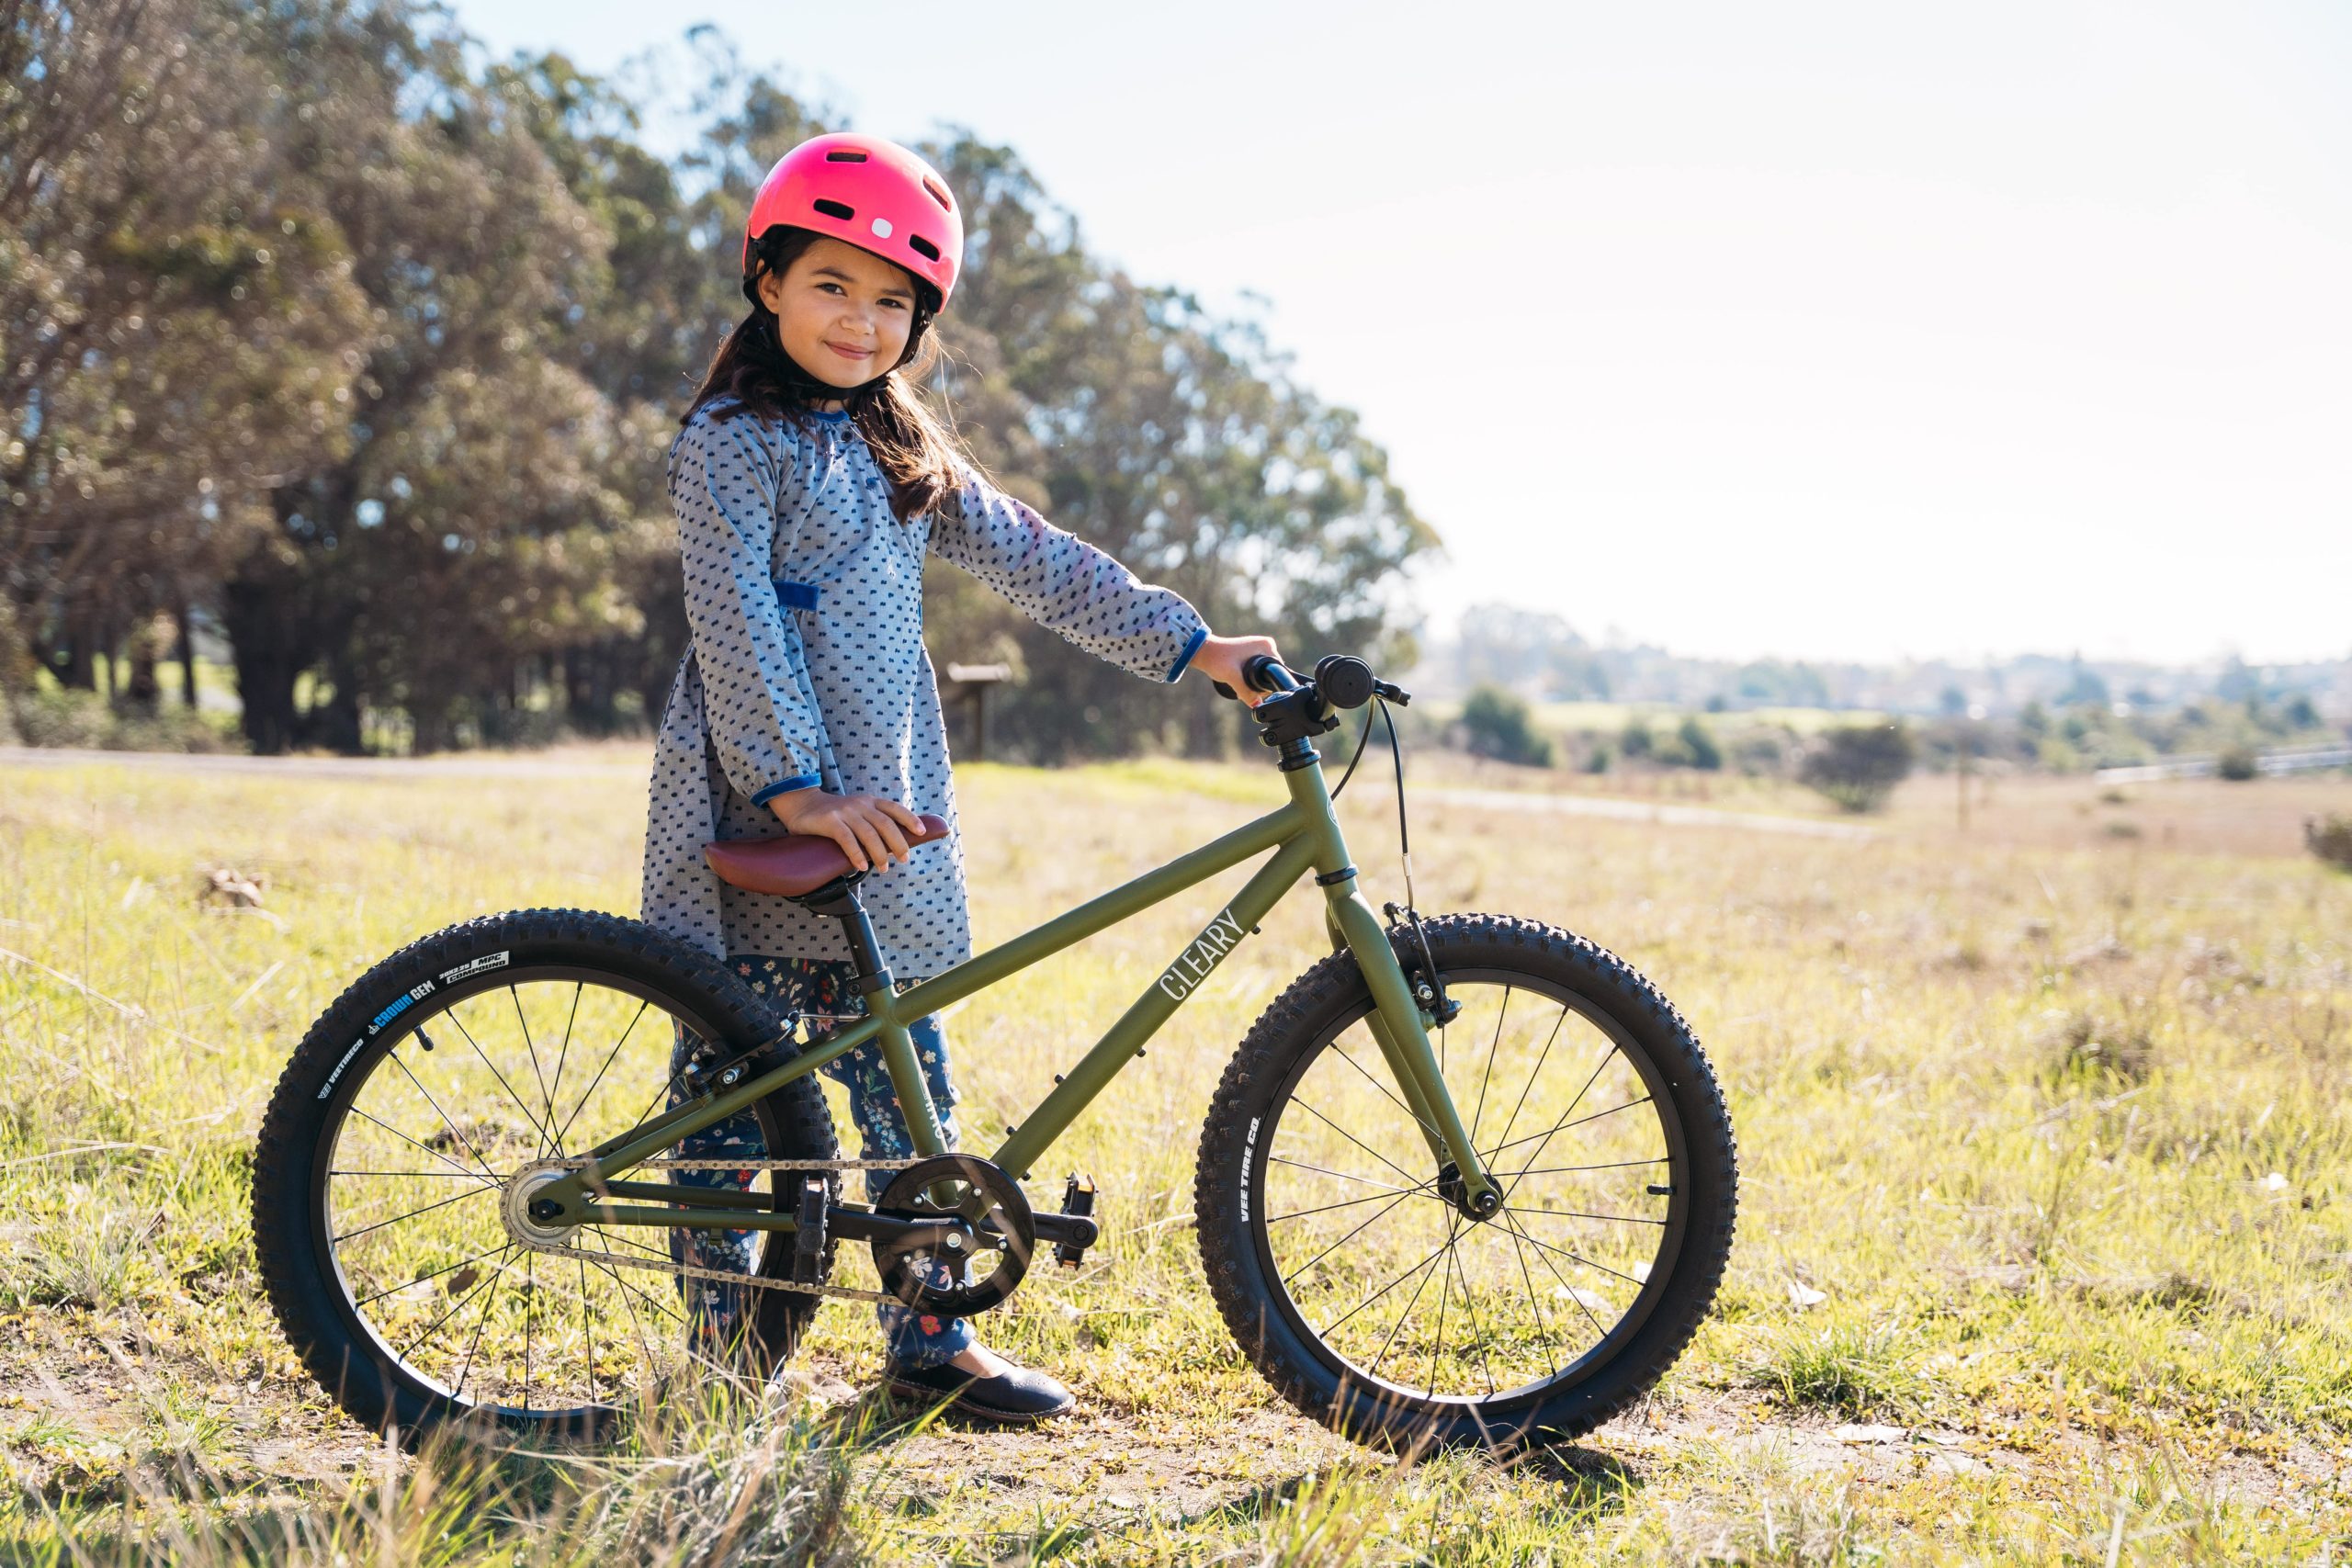
Proper bike sizing is essential for the learning process. A too tall or too heavy bike for your child can hinder their progress and be dangerous. Bike sizes for kids are measured differently from adult bikes and come with more considerations, so make sure you do your research. You can use our bike size chart to find the perfect fit for your child to learn on.
Seat height is another important consideration for new riders. If you’re teaching your child to ride on a real bike, such as our 12-inch Gecko, prepare the bike by removing the pedals and lowering the seat.
You should also lower the saddle to a height that your child can sit on the bike and place their feet flat out on the ground. They should be able to push themselves along while they learn to balance.
As your child gets a bit more confident and moves onto pedaling, you should raise the saddle height so they can just touch the floor with their toes. Raising the seat as your child gets more confident will prevent them from relying too heavily on their feet as stabilizers.
Make sure the tires are correctly inflated on your child’s bike. Flat tires will make the learning process more difficult. Some toy bikes use plastic wheels that are only appropriate for indoor use. If you’re learning outside on a proper children’s bike, ensure you have proper air-filled tires. Most tires specify max PSI on the sidewall. For young riders, hard/overinflated tires are not necessary. A properly inflated tire should give to the pressure of pushing down with your thumb.
Getting on and off a bike is harder than it looks. You may not think twice about this as an adult who has been riding for decades, but this is a brand new experience for kids.
Many children need some practice getting on and off a bike. You can lean the bike onto one side toward your child to make it easier for them. Encourage kids to do it several times until they’re comfortable. If your child is struggling to get on or off a bike, it may be a sign that the bike is too large for them.
It’s important that kids learn to tiptoe and scoot on a bike before they start trying to pedal. Many parents and children will unknowingly have already begun this step of the learning process on ride-on toys.
To learn the technique on a real bike, your child should sit on a pedal-less bike or balance bike. Have them hold the handlebars, then walk back and forth a short distance while seated on the bike.
The idea is that your child will tiptoe or walk the bike, not yet try to glide or pedal. You should try and avoid your child shuffling flat-footed; instead, encourage a moonwalk, bouncing a little like they might in a bouncy castle.
Encourage your child to look forward while they practice scooting – rather than down at their feet. When you look up, you tend to stay upright and steer straight. An excellent way to keep your child looking forward is to practice. Walk backward in front of them and have them focus their gaze on you. Or, try a fun game, such as holding up different numbers on your fingers and encouraging them to shout out the numbers while they scoot.
The next step after learning to get on the bike and walk with it is to start gliding. Gliding, or coasting, encourages children to take their feet off the ground for short spurts and begin to trust that the bike will keep them upright.
Have kids push off from the ground using two feet to propel themselves forward. Some children will be naturally inclined to lift their feet and enjoy the glide. However, it’s entirely natural for children to be nervous and put their feet down to steady themselves as they get used to coasting.
Once your child has the hang of propelling themselves forward and gliding, you can start to practice steering. Create a winding path on the sidewalk using chalk or play “follow the leader.” Fun games and obstacle courses make this stage of the learning process fun.
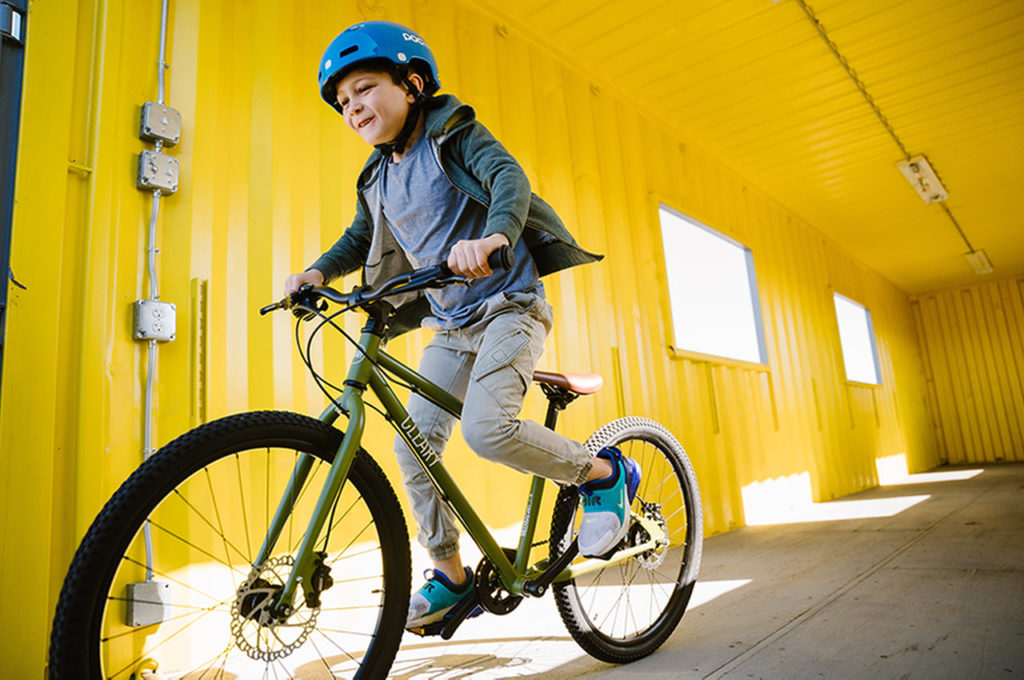
Once they are confident gliding and balancing on their own, you can introduce pedals. If you took your pedals off a bike, add them back on, or move from a balance bike to a true children’s bike. Our 12-inch Gecko bike or 16-inch Hedgehog are good choices for first-time riders.
To get started with bike pedals, have your kid sit on the bike saddle while you hold the bike stead. They can practice picking their feet up and placing them on the pedals while you hold them steady. While they practice, keep them looking ahead at you. If they focus on their feet, they’re more likely to turn the handlebars and lose their balance.
Once they are comfortable sitting on the bike with pedals, have them start moving forward with enough momentum to keep balance following the instructions for starting below.
Try to avoid holding onto the bike while your children pedals, but stay close to them to provide a sense of security. It’s tempting to let them ride off ahead when they seem to have the hang of it. Children can seem confident pedaling initially but can quickly panic if they lose sight of you. You may remember from your own experience of learning to ride how scary it can be to find yourself flying solo suddenly. It’s important to let them ride unaided as much as possible but stay close to the bike to catch them if they start to wobble.
Start by riding back and forth in straight lines until your child is able to start, pedal, and stop the bike unaided. Then, you can start to practice steering just like you did on the balance bike. Steering while pedaling adds a layer of difficulty, so don’t assume that your child can do this right away without some more practice.
Over time you can start to introduce slight inclines or other obstacles, but keep it simple to start.
Learning to start riding a bike can be scary at first. Make it easy for your child by ensuring the cycle is in low gear if applicable and ensure you are on a flat surface with no incline.
Follow these steps to get started:
You may feel tempted to hold the child’s bike as they start to pedal. If your little one is struggling with balance, you can hold the bike for a short stretch. Our smallest bikes have a handle built into the bottom of the saddle so you can easily help your child balance before they ride off on their own.
However, you should try to avoid this practice if your child doesn’t need help. When the child has the opportunity to balance by themselves on the bike, they will more quickly gain confidence riding on their own. If your child is struggling with balance, you may need to remove the pedals and return to practicing gliding on a balance bike.
Children will usually try to stop by putting their feet on the ground. When you introduce pedals, you’ll need to teach them the new way to stop, either with coaster brakes or handbrakes.
Many 12 or 16-inch bikes for younger children will come with coaster brakes. For coaster brakes, have your child sit on the bike and hold onto it while they try out the brakes. Have your child practice by gently pressing their feet on the coaster brakes. Practice while stationary until your child can use the brakes without wobbling too much.
If your child’s bike has hand brakes, the learning process will be slightly different. Instead of sitting on the bike, have your child hold the hand-grips and walk alongside the bike keeping a couple of fingers on the brakes. Have them master using the hand brakes to slow the bike while walking. Once kids have grown accustomed to the necessary pressure to stop the cycle, you can have them try it while seated on the saddle.
Tumbles can happen while children learn to stop a bike, especially if they brake suddenly while traveling at fast speeds. Once they get the hang of pedaling, instruct them to slow down before braking. Judging when they should start to slow down is a skill that takes some practice. You may see your child still occasionally use their feet to stop themselves even after introducing brakes.
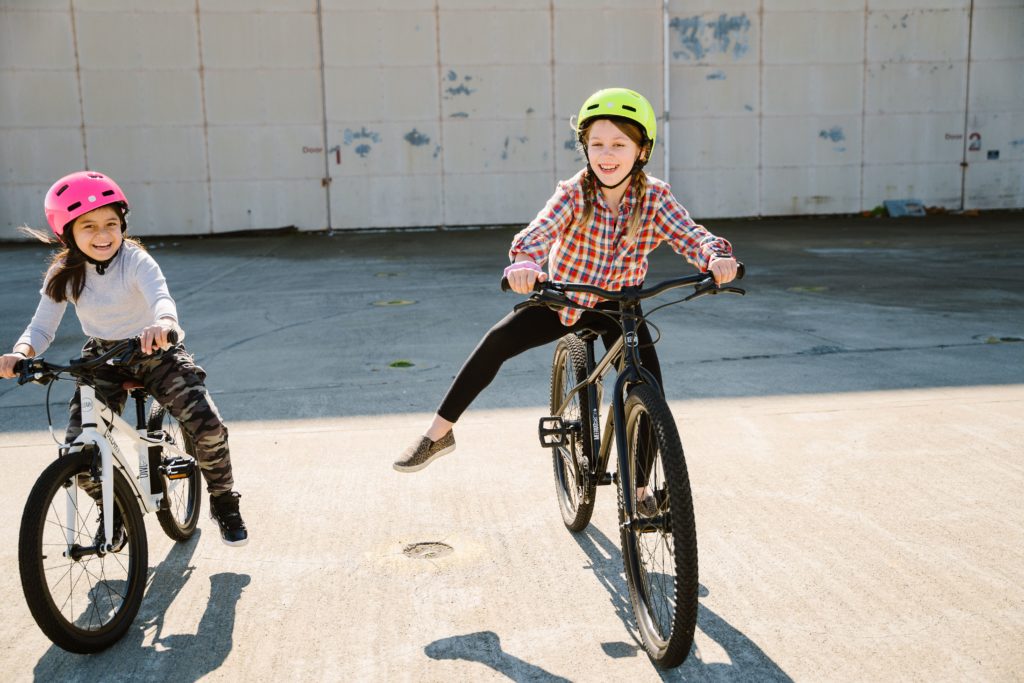
Ultimately, learning to ride a bike should be a fun process for everyone involved. Riding is a skill that is both great exercise and also helps kids build confidence and independence. Remember to keep things fun and avoid putting too much pressure on kids to master riding immediately. When you let kids learn at their own pace and speed, you’ll both enjoy the process much more.
DISCLAIMER: Any and all information provided by Cleary in this article is provided in good faith. However, we do not accept any liability or responsibility and are not liable to you at any time for any loss or damage you may have experienced or incurred as a result of the use of our Site (www.clearybikes.com) or reliance on any information provided on our Site.
Kids’ bikes are subject to wear and tear, which is why maintaining them is essential for their longevity and safety. As a parent, you can
Bikes are a key ingredient in epic childhood adventures. So, choosing a new bike for your kid is a big decision! There are a lot
So, your child has been asking for a kids mountain bike? Knowing that they always want the newest toy (novelty is kind of their thing),